Sewn Board Binding
For her birthday, I wanted to make my mum a Christmas Card record book. This presented several challenges; one of which was that the book would run alphabetically and therefore each signature would be assigned a letter- meaning that there would be around 24 signatures in total (combining several little used letters like X or Z)
Another issue was that I wanted to attempt a sewn board binding, which I had not ever previously practised.
The book layout would comprise of 24 signatures, comprised of 3 folios each. Each signature would be enclosed in a guard made of decorative card stock to distinguish each letter. The cover would be quarter bound in buckram and Khadi Lokta paper with a recessed square for the title card and a binding ribbon. The book would be held together with an exposed binding using kettle and French link stitches.

I used Microsoft Word to format the basic content of the folios. Because I had to use printer paper (which is short grain) I printed each page onto A3 sheets and then cut them to size.


Setting up
I cut two 1.5 mm boards, 15.3 cm in width and 21.1 cm in height. On one, I cut a recessed square which would hold the title card once the decorative paper was attached)
With the folios already cut, I folded in the end papers (the same Khadi Lokta paper that I would use for the cover) and then tipped them onto the 1st and last signatures.
I folded the card stock and arranged them around each signature in the order I wanted them.
I cut the 2 sheets of blank white card stock that I would use to wrap around the board to be 4mm higher than the book block and 1 mm wider.
Finally, I cut the buckram to be the height of the book + 4 cm (2cm of turn ins at each end). Because the buckram would be wrapping around the spine edge of each board, the width did not need to be exact.
I marked the front and back face of the card stock with a 1/4 line for the buckram and then glued the buckram (avoiding gluing the turn ins) to the card stock, lining up with the pencil line.
I then put the cut board between the card stock sheets and folded using a bone folder while the buckram was wet with glue and mouldable. I repeated this with the second board and left them to dry under a small weight.
Using a similar punching template to the Half-Boards binding I punched holes into each signature of the book block. Once they were punched, I removed the boards from their card stock covers and punched holes through the card and buckram.


Beginning with the bottom card stock and buckram cover, I bound the book block together using the same kettle and French link stitches as the Half-Bound Binding in the previous project. Because I was conscious that the large number of signatures with the small number of folios to each would make the spine edge of the book fatter than the fore edge, and therefore would create a sloping look, I used the thinnest thread I had.
I then tipped in the fore edge of each signature to the guards fore edge to ensure that they were covered.
I weighted down the book block and left to dry (putting the boards back between their card stock covers).

Once dry, I removed the boards and made a small incision along the long edge approx 1 cm away from the head and tail. I repeated this for the second board. The purpose of this is to allow space for the stitches which will be sitting behind the buckram but not going through the board.
Using PVA, I ran glue along the freshly cut edge and approx 1 cm off the head and tail of the board, as well as a thin layer of glue in the fold of the card stock. Holding the open fold of the card stock with my left hand, I lined up the board into the fold, forcing it to size, folding the card stock over the board and bone folding it to secure it in place. I repeated this with the second board.
I trimmed the turn ins and folded them in using a small amount of PVA.
At this point, I encountered my first problem. Because I had used the thinnest thread I had to limit the swelling of the book block's spine edge, the thread itself was not strong enough to bear the weight of the book block and now snapped.
After managing to avoid the entire book block unravelling, I carefully peeled up the buckram and removed the boards from their card stock covers (thankfully without tearing the card stock).
I used a weaver's knot to join my thread to the remains still left in the book block and re-sewed the binding, reinforcing the kettle stitches as I went, by doubling them in several places.

The book block was now secure, and so I, once again, glued and inserted the boards, folding down and securing the turn ins. I then covered both boards in the Khadi paper, making sure I recessed it into the indent and left to dry. During this time, I got out my mini printing set and printed the title onto a Cambridge Imprint label, which could then be stuck directly into the indented gap.
Once dry, I used a Japanese screw punch to punch a hole through the cover (decorative paper, the front of the card stock, and grey board) through which I then fed a length of ribbon. I glued the tail to the back of the grey board (which would then be hidden by the back card stock cover.) I then used the glue to adhere the back of the card stock cover the grey board and repeated myself on the back.
I then folded in the remaining turn ins and cased in.


Although the book was technically complete, I was unhappy with the amount of play between the covers and the signatures. This looseness was likely cause by a combination of using a thread that was too thin and the lack of tension created when I rebound the book block. I spoke to Kristine Rose Beers in the Conservation Department at the University Library and she gave me some advice.
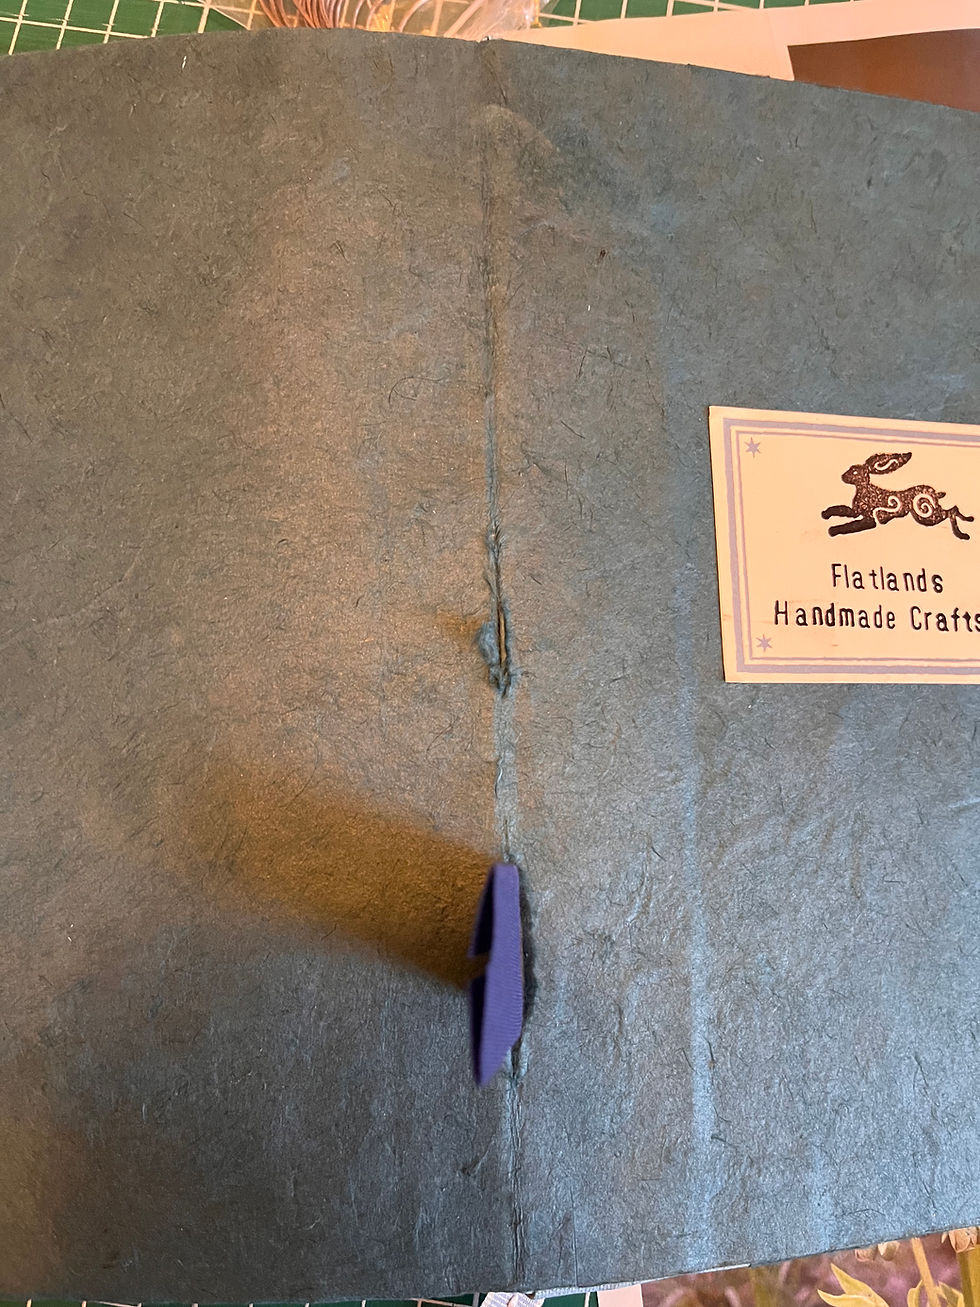
On her instructions, I wound a section of thick ribbon underneath each row of French link stitches. This limited the amount of give in the binding and stabilised the book block. Once the ribbon was woven underneath the binding, I cut the end paper securing the book block to the board and glued the ribbons down over it. I then covered them with e second sheet of decorative end paper.
I also inserted a pocket in the back cover, made from card stock, to help offset the sloping created by a thicker spine edge.
With the book block stabilised and the binding reinforced, all that remained was to use my stamps to create decorative alphabet labels for each signature guard and wrap it up!