
Paper Making
I attended a Creative Papermaking workshop, held during the summer at West Dean and taught by Lucy Baxandall.
Papermaking Process:
-
Using cotton linters (bought from John Purcell).We filled a blender with 2/3 of water and tore up the cotton linters and soaked them for 20 minutes in water. We then added the pulp to the blender- in batches and being conservative with the amount- and blended for 15 seconds. You can test the pulp by putting a small amount in a see-through container filled with water- when holding it to the light, you should see the fibres evenly distributed and not clumping. One washing up bowl sized vat = 2-3 blender loads of pulp.

-
We experimented with colour by cutting up coloured paper napkins and adding them to the cotton pulp before blending. The colour will be diluted so a very strong red will come out a pastel rose.
-
We filled a vat with water and then added a tablespoon of sizing (although when using magazine pages as pulp, rather than cotton linters, the size should already be included.)
-
It was important to prepare a drying layer beside your vat: I used carpet/ towel, the newspaper, felt (dipped in water) and a kitchen cloth (also wet).
-
We placed the deckle on top of mould (mesh side up) and held together with the longer edges towards and away from us and the shorter edges to the sides. We then scooped the pulp from the vat by bringing the bottom down and towards us in one smooth movement. When lifting the mould out of the vat, it was important to keep it horizontal to ensure an even thickness. I then shook it gently from side to side to lock the fibres together as the water drained out. Tilting the mould gently as the water starts to drain, allowed it to drip out one corner back into the vat. Carefully removing the deckle, I drained a little longer and then couched onto the prepared kitchen cloth.
-
Couching: Keeping a firm grip on the mould, flip upside down and press firmly onto the cloth. The first time doing this, you may need to then fill the mould with water and even use a sponge to ensure the pulp detaches from the mould. Then lift the mould off the cloth in a swift confident movement.


After getting the basics down, we could emboss letters and shapes, flowers, ribbons, or pieces of fabric onto the newly couched paper. These would be then covered with another cloth until you had built up a stack and then put under a press. Once dried, the embossing objects could be removed, leaving an indented pattern behind.
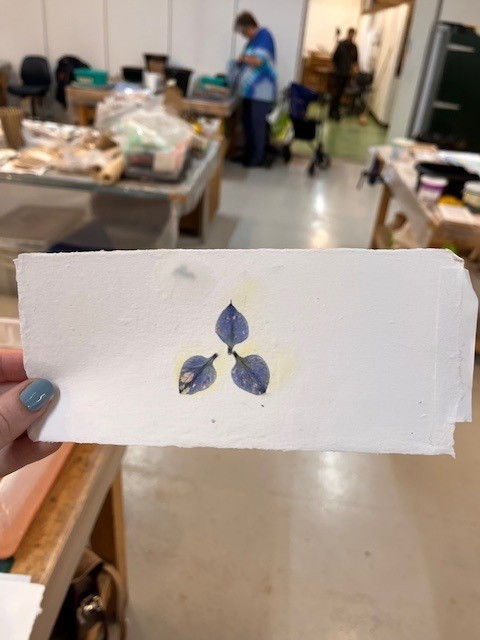
You could also add small inclusions to the vat: threads, leaves, small pieces of coloured paper, petals, etc. We allowed them to absorb in the water and mixed well. Once these are added, they would be in all the sheets pulled from this vat. Flowers and petals can be interesting, but their colouring could interact unpredictably with the pulp.
Cotton linters weren’t the only source of fibre used to make paper. The linters created a thick, watercolour weight paper but if you wanted a more delicate texture we could use overbeaten abaca. This created a very thin paper which was liable to tearing in the coaching process but once dried became very strong. It was very useful when double couching; you could couch one layer of abaca, add in some decorative elements, the fold another abaca layer over the top to trap the additions and ensure they wouldn’t peel off the dried paper. However, it could take around 15 minutes to properly drain the abaca sheet before couching.
We also used abaca mixed with gampi (a Japanese plant which turned the pulp and subsequent sheets a beige colour) and denim linters (which made a bluey- grey colour).


Drying Process:
We used a nipping press to squeeze the remaining moisture out of 10-12 sheets at one time, all of which were interwoven with j cloths. We put a felt mat on the bottom and top of the stack and surrounded the press with blankets and towels to absorb the expelled water. The sheets were left in the press for 10-15 minutes.

After draining we had two options: single sided restraint drying or air drying. The former involved rolling, brushing or sponging the damp sheets onto a marbled countertop and then peeling off the couching cloth. Once the paper was dry, it could then be carefully peeled off the surface. Sheets made with this method would take up the texture of the drying surface so will be smooth and shiny, while the side exposed to the air will have a rougher texture.

Air drying: sheets could be dried on their couching cloths by hanging them carefully on a drying rack or washing line. Once dry, the cloths were peeled off. Thinner sheets with low shrinkage dried well this way, whereas thicker or high-shrinkage sheets (like abaca) would almost certainly cockle or warp. I then ironed the sheets I dried this way between protective layers of newspaper. Although this can cause the sheets to shrink further, it produced a good flatness.
On the first day of the course, we only used the A6 mould and deckles but on the second day, we could pull larger A4 sheets. There were two ways of doing this. If you wanted a similar weight and texture to the sheets pulled the previous day, you used exactly the same technique but instead used larger vats, since the A4 mould would not pull up cleanly in a washing up bowl sized vat. I made most of my sheets this way.
However, you could also created poured sheets, where, instead of dipping the mould into the vat, pulp could be poured onto the mould surface from a container and which then dried on the mould or was couched and dried as normal. I did this once using layers of cotton pulp combined with denim and abaca to create a cloudy, stormy sky effect and put the sheet in an airing cupboard to dry on the mould. Although it was an interesting technique, it didn’t allow me to get the smooth finish or the even distribution that pulled sheets did.